2D Labeling Interface
The annotation interface is shown below.
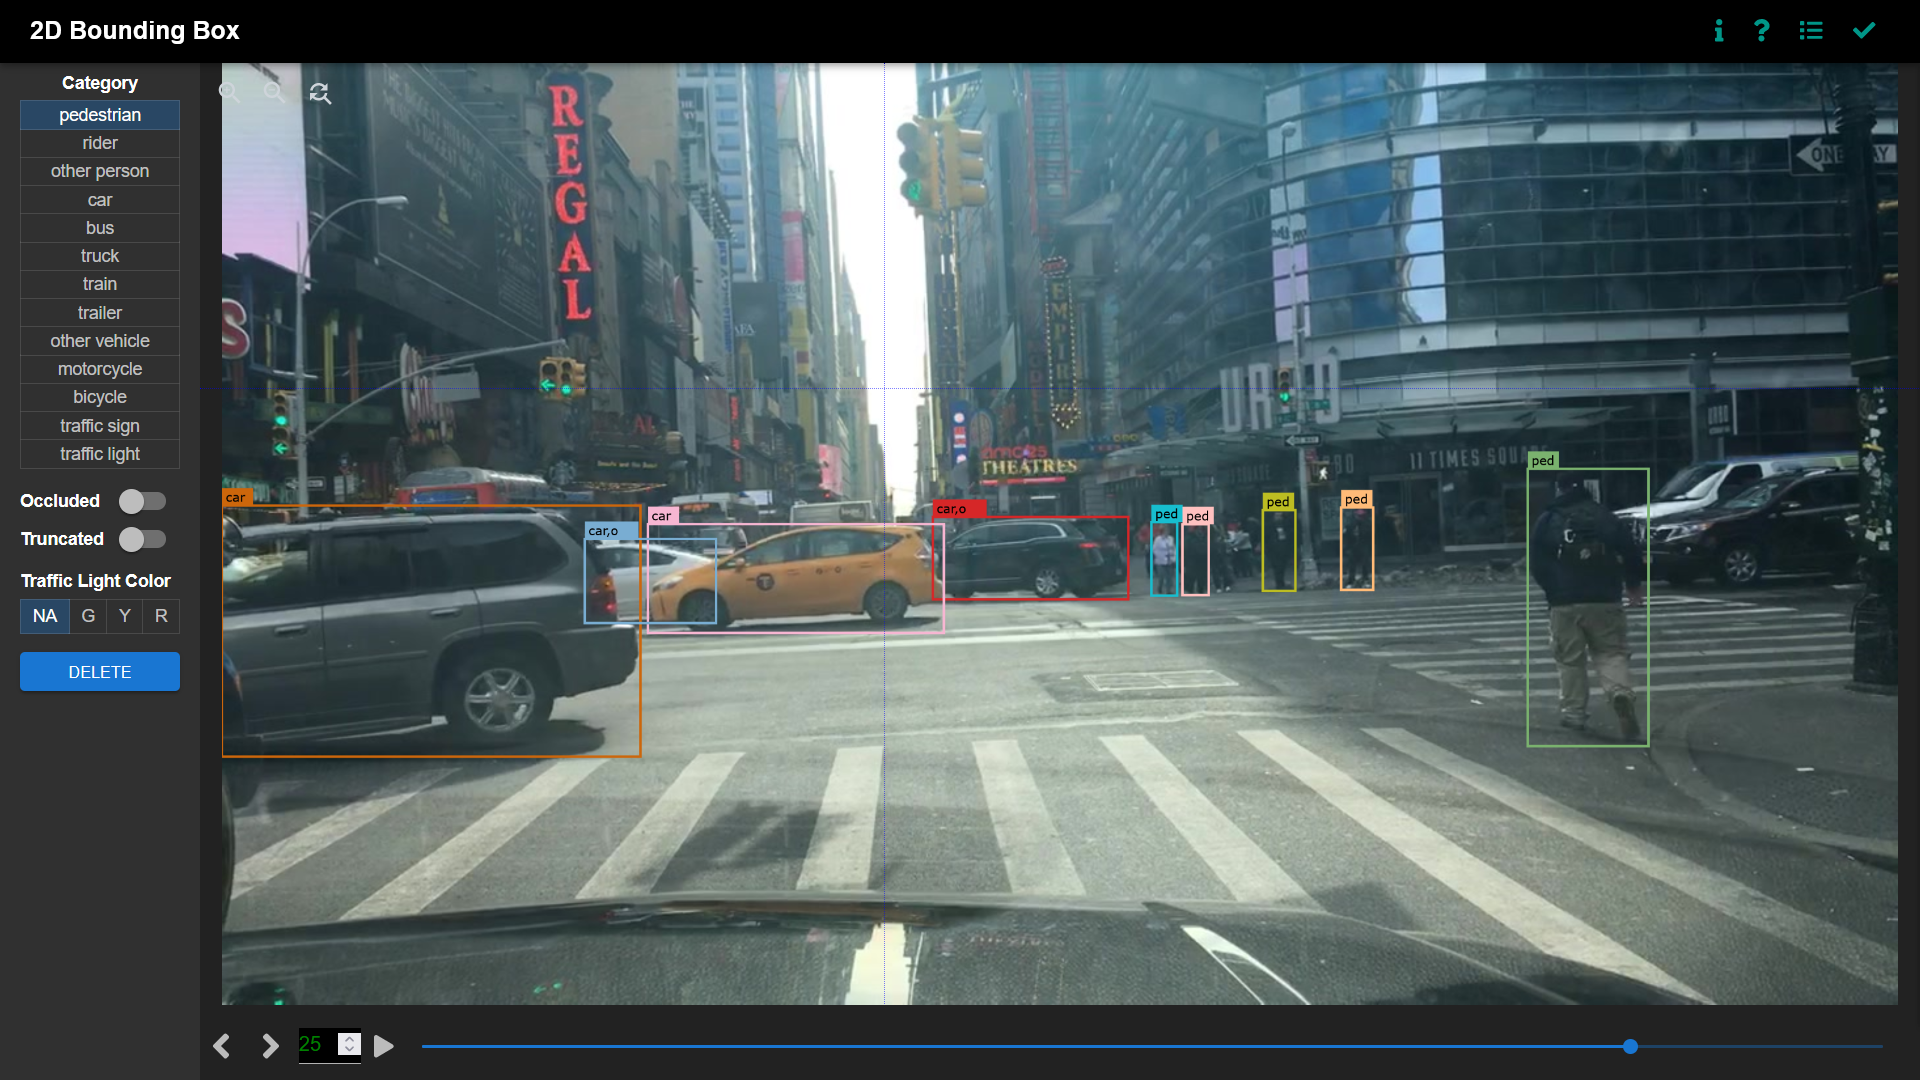
2D annotation interface
Category and attributes loaded during project creation are shown in the left sidebar.
Jump between images by clicking the buttons,
or pressing ←/→ keys. You can also edit the
item index and hit Enter to jump to a specific image.
To zoom in/out, click the
buttons on the top-left
corner. You can also zoom by scrolling and drag the image around while
pressing the Ctrl key (Cmd for Mac users).

To select multiple labels, press Ctrl first, then click on the labels you
want to select.
There are a few useful links on the top right corner of the annotation interface.
To check out the instruction page set during project creation, click the
Instructions button. Toggling the keyboard shortcut window by pressing the
Keyboard Usage button or the ? key. Click the Dashboard button to
jump to the vendor dashboard.
To save the results of the current task, click Save. Always save the task
before refreshing or leaving the annotation interface. To disable saving, turn
on the “demo mode” in the advanced options during project creation.
If auto-saving is enabled, the task will be auto-saved and the Save button
will not shown.
Once done labeling each item of the whole task, click Submit to indicate
that the whole task is finished. This action marks the task as submitted in the
project and vendor dashboards.
Mode switch
ANNOTATING mode: The default mode. User could easiliy draw labels under
this mode, but it’s hard for user to select a label by clicking its edge.
SELECTING mode: Under this mode, labels could be selected by clicking
its mask area.
User could switch between these two modes by pressing x, after clicking,
a status bar will shown.
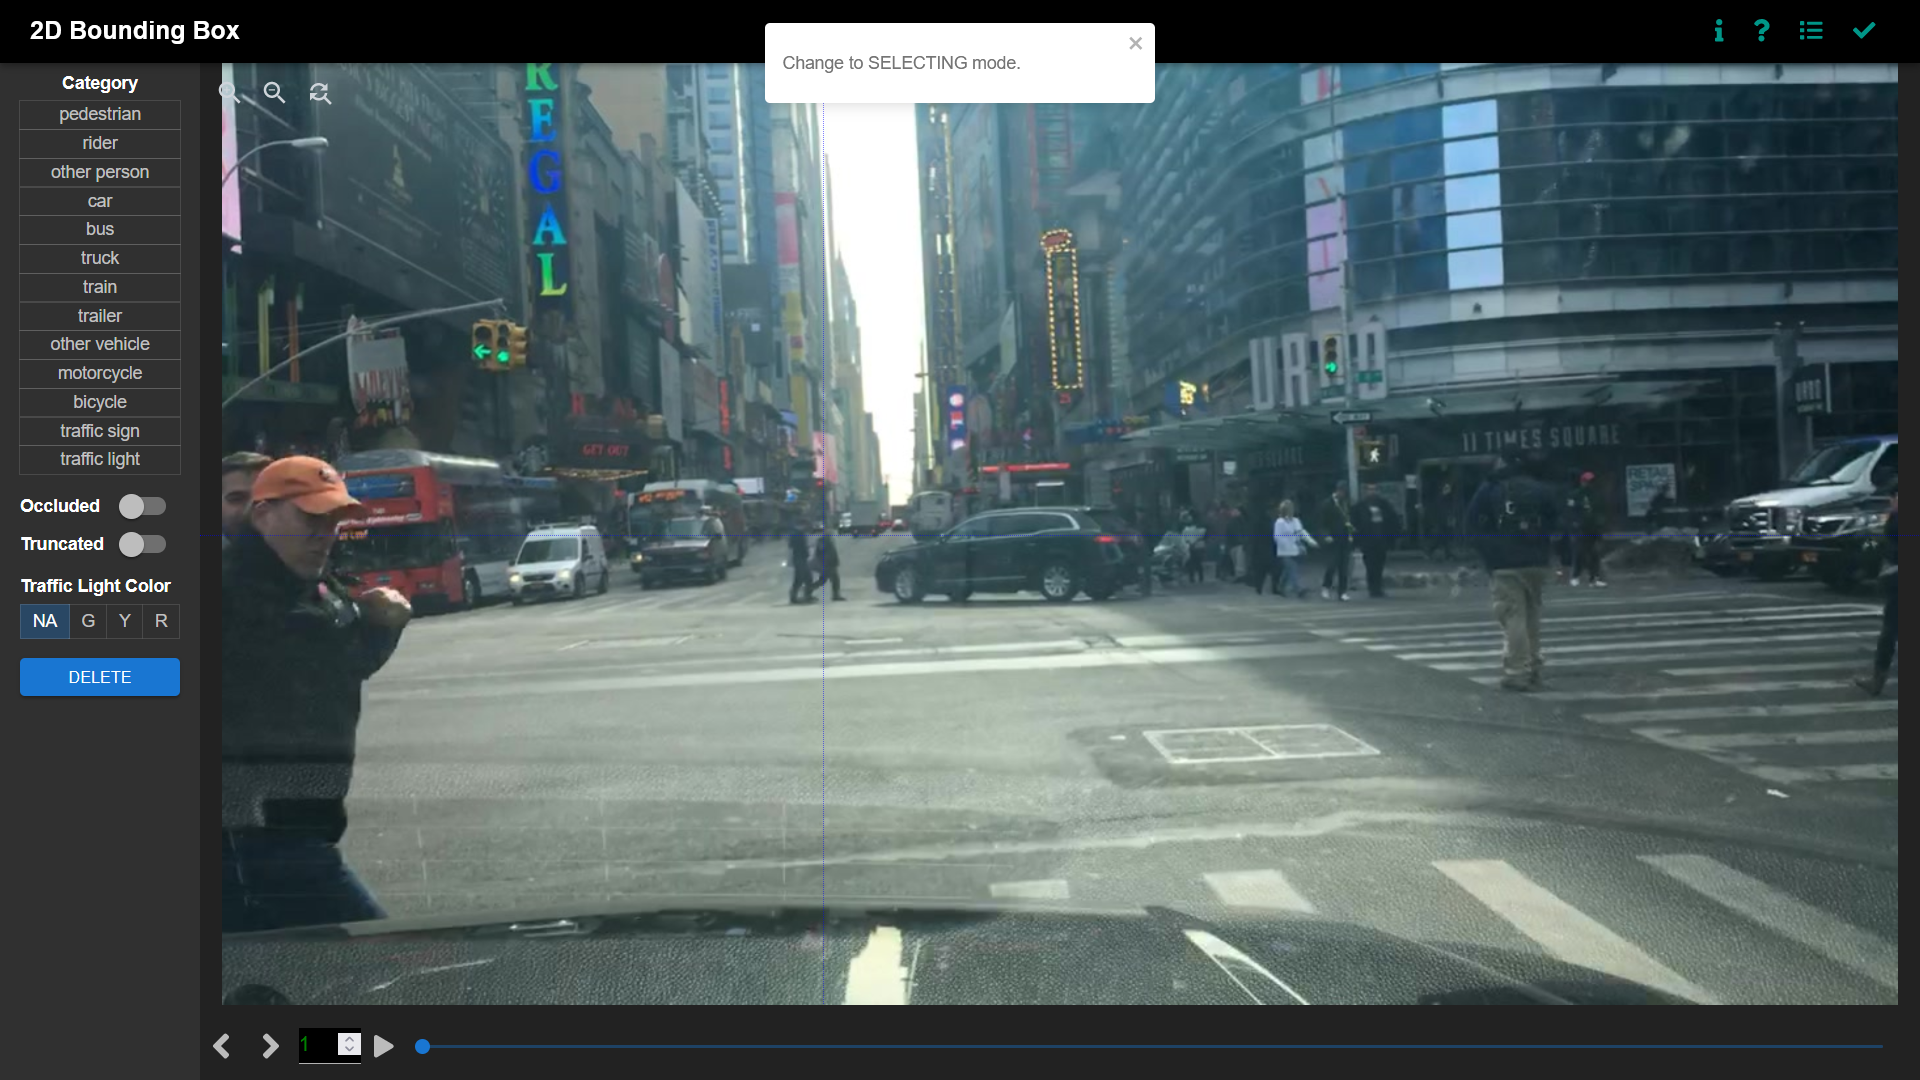
You can switch mode by pressing x