3D Bounding Box
Scalabel also supports 3D point cloud bounding box annotation. You can have a quick
try by submitting examples/point_cloud_list.yml
and choose Point Cloud in Item Type and 3D Bounding Box in Label Type.
Currently we only support .ply format.
The interface of drawing 3D bounding boxes is shown as follows.
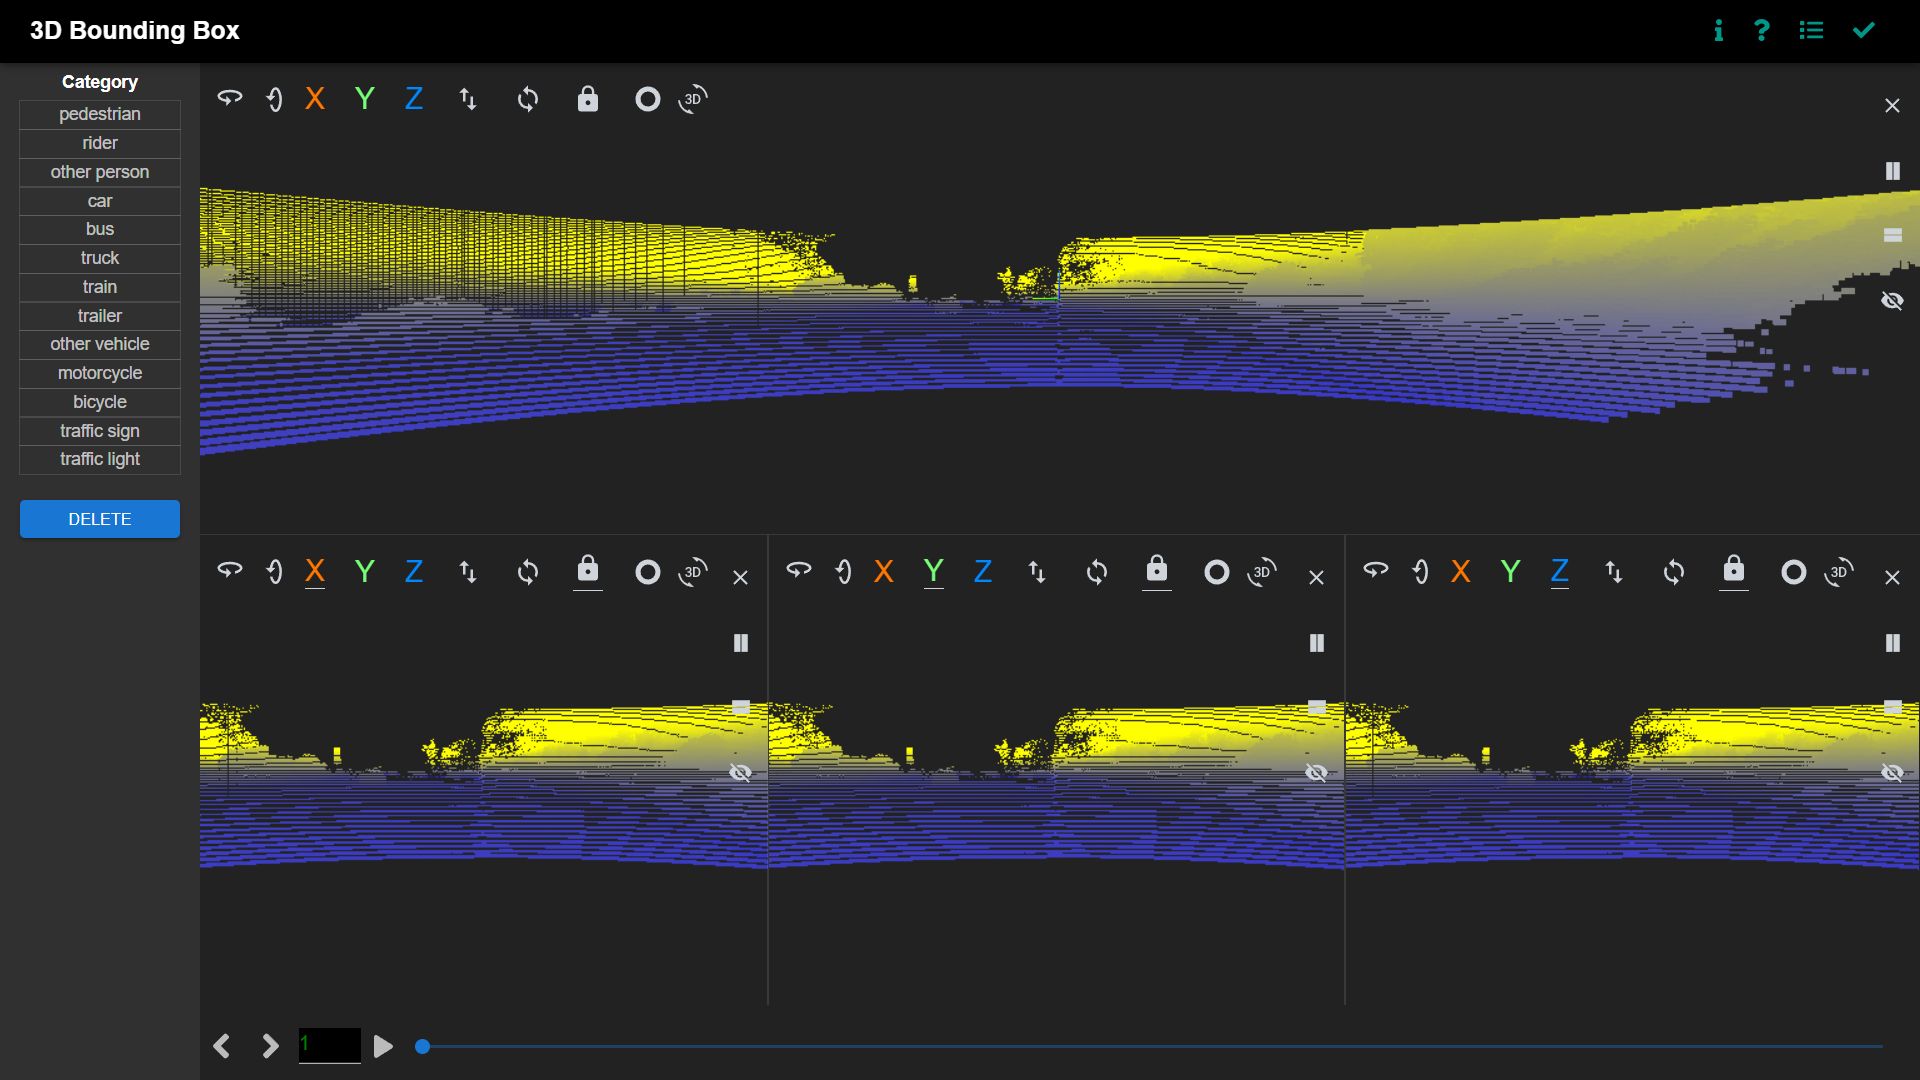
3D bounding box labeling interface
The labeling interface is divided into 4 panes: 1 primary pane and 3 auxiliary panes. Each auxiliary pane has its viewing direction fixed to the given axis (from left to right, x, y and z axis, respectively). Users can use the primary pane to quickly localize the object and use the auxiliary pane to make fine-grained adjustment.
3D bounding box labeling interface - panes
Change the position of camera
Sometimes you may want to move the camera to view the whole scene from different perspective. So we provide several options to change the position of camera.
Left click the pane and then move the mouse to rotate the camera around the origin.
Right click and then move the mouse to translate the camera.
Use the mouse to move the camera
Press
wandsto move the camera forward/backward.Press
aanddto move the camera in the left/right direction.
Use the keyboard shortcut to move the camera
Creating a new bounding box
Default creation: Press
Spaceto add a new bounding box with size 1x1x1 at the origin. After that, this newly created bounding box will be automatically selected and you can adjust it. PressEnterto finish the creation.
Create a new bounding box
Spanning mode: Click the
Activate Spanbutton to activate the spanning mode. In this mode, you can define a custom bounding box by clicking on the pane to generate four points. These points will be automatically connected by lines and define a cuboidal skeleton of the bounding box. Once the skeleton has been generated, pressSpaceto convert it to a bounding box. PressEnterto finish the creation.
Create a new bounding box via spanning
Editing the bounding box
You can select the bounding box you want to edit by double clicking it. Then you can edit the bounding box at any pane. Choose the pane that fits your need.
Resizing the bounding box could be done by dragging its vertex. Besides of this, we also provide three different transformation modes, namely rotation mode, translation mode and scale mode.
Editing the bounding box by dragging the vertex
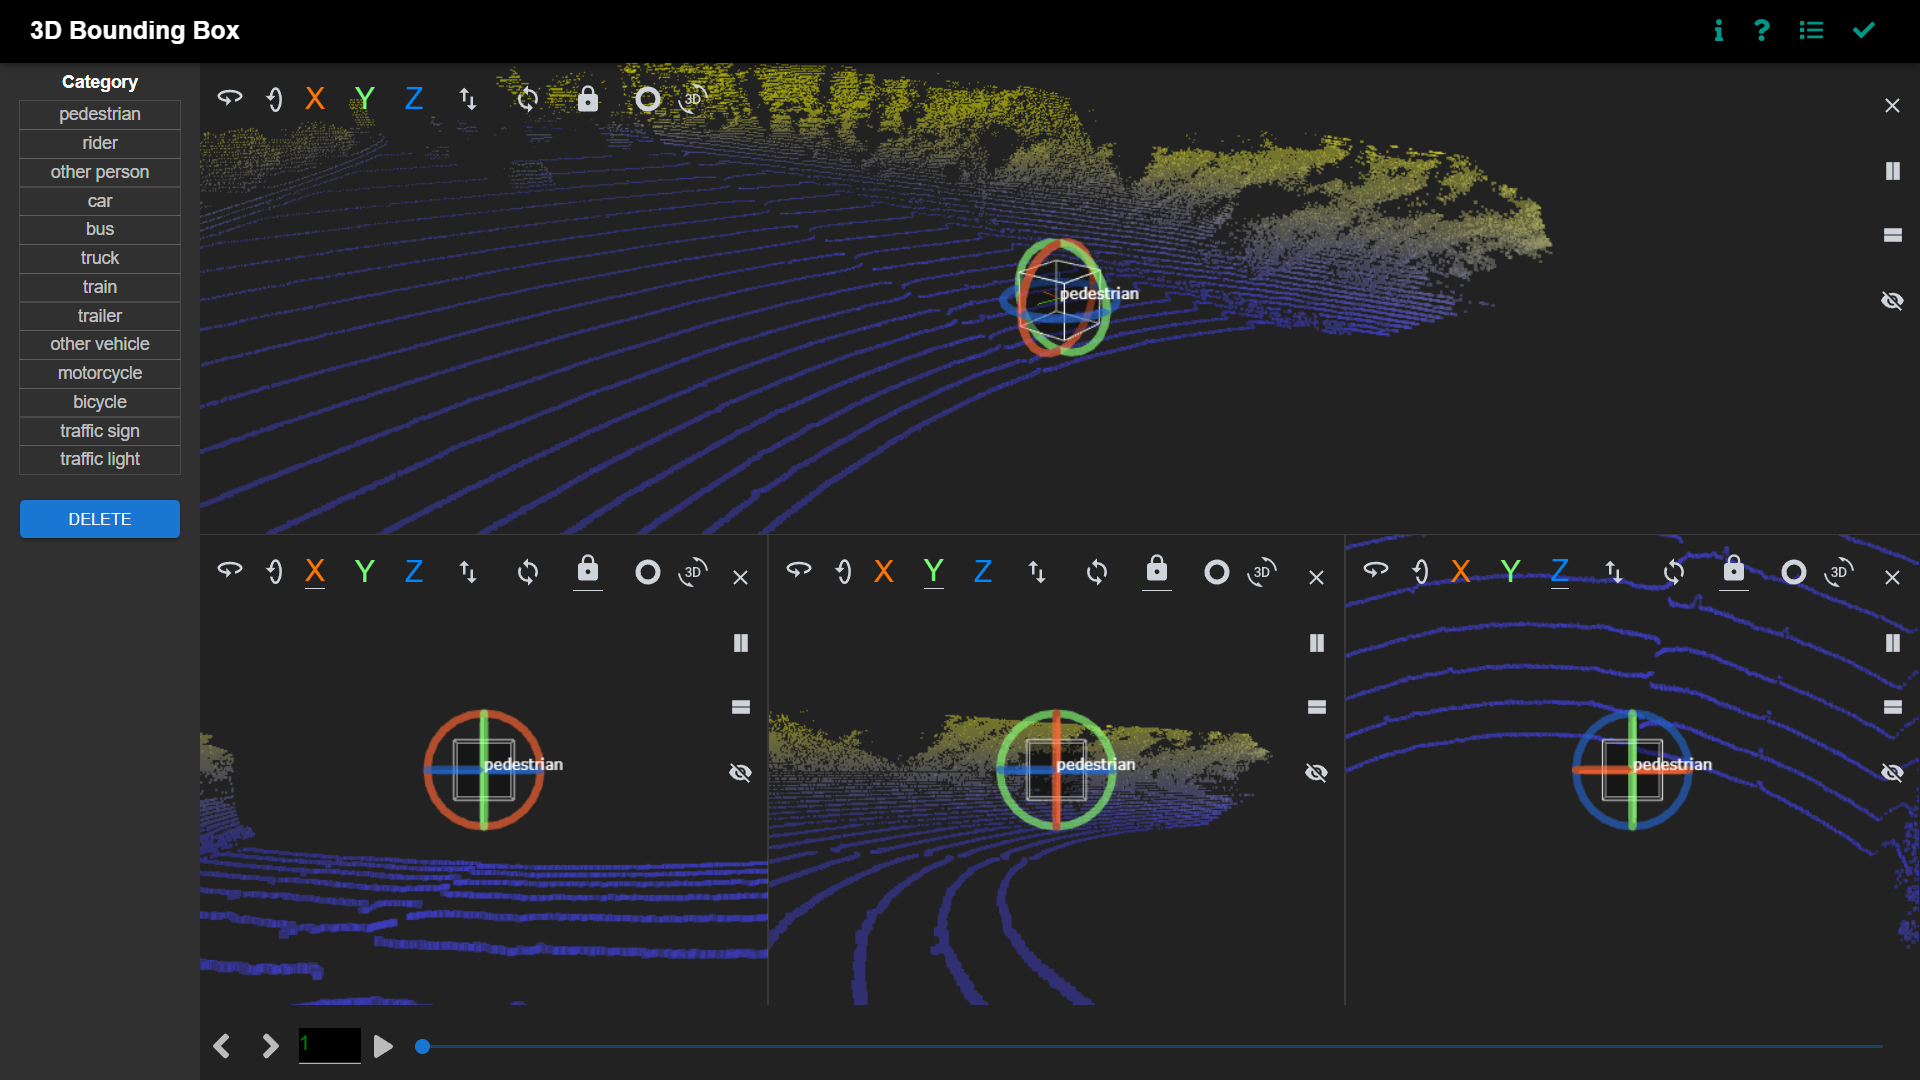
Rotation mode: Switch to this mode by pressing
r, and it is also the default mode. In this mode, you can rotate the bounding box by dragging on the ring. Three rings mean rotating around different axis. You can take the color of rings as reference.
Rotate the bounding box
Translation mode: Switch to this mode by pressing
t. In this mode, you can translate the bounding box along axis by dragging the cone outside the face of the bounding box, or translate the bounding box in the plane by dragging on the square inside the bounding box. Just the same as it is in the rotation mode, the color of the cone/square could be taken as reference.
Translate the bounding box
Scaling mode: Switch to this mode by pressing
e. In this mode, you can scale the bounding box by dragging the cubic outside the bounding box’s face.
Scaling the bounding box